
Make Your Own Self Watering Planter
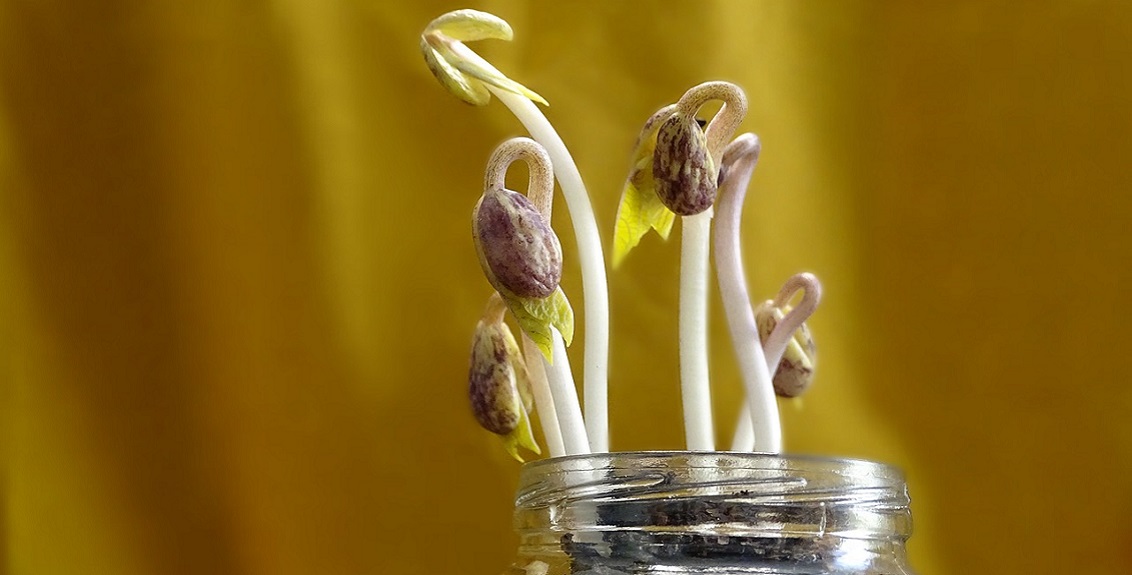
If you plan to grow something like flowers or vegetables and it is cold outside you can start growing them in your home. This video shows you three ways to use old plastic lemonade or soda bottles to make self-watering planters.
These are great because the soil is always exactly the right moisture level and it is very easy to see with the naked eye when it is time to add water to the planter. There’s no guesswork involved and the plants seem to love it.
You will need:
2 litre plastic bottles, potting soil, seeds, thick string or yarn (either cotton or poly seems to work), a Phillips screwdriver, hammer, and a sharp blade to cut the bottle.
What to do:
- Cut the bottle in half.
- Use a Phillips screwdriver and a hammer to punch a hole in the centre of
the bottle cap.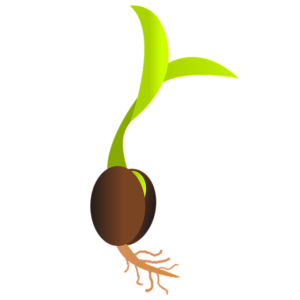
- Cut a length of string about 1′ – 1.5′ long, double it over and tie a loop on one end.
- Thread the string through the hole in the bottle cap so that the knot is on the inside of the cap. This will act as a wick, drawing water up from the basin below and into the soil. The plant will take only what it needs, so the soil moisture will be perfectly regulated.
- Put the cap back on the bottle top and nest the top of the bottle in the base. As the plants grow and use up the water, you can just lift off the top to add more to the base instead of pouring it over the soil. As the soil dries, water will be sucked up through the string into the pot.
- Label your bottle so that you remember what you planted.
- Add potting soil and seeds and water.
- You need to water the soil from the top the first time in order to make
sure that it is uniformly wet and that the string also is wet. Otherwise
the surface tension of the water will prevent the whole thing from working correctly. - Wait for your seeds to grow.