
In all but the warmest hardiness planting zones, many summer and autumn flowering bulbs, corms, rhizomes, and tubers will not survive a cold winter.
Unlike hardy bulbs, which require a period of cold in order to bloom, these “tender bulbs” can’t handle the cold and need to be dug up, stored, and protected in colder climates. With a little practice, this can be done fairly easily and allows you to grow all sorts of plants that otherwise might not be winter hardy in your area.
Basic Steps:
- As the weather cools, the foliage on your tender bulbs will begin to turn yellow. This often happens after a light frost but before a hard freeze. Now’s the time to dig them up, before they are damaged by freezing soil.
- Very gently dig your plants by loosening the soil all the way around the plant. Carefully remove the plant from the ground, making sure not to damage the main bulb or underground food storage structure.
- Shake off the soil and rinsing the bulbs.
- Place the bulbs in a dry place out of the sun and wind and not subject to freezing temperatures for a day or two to dry.
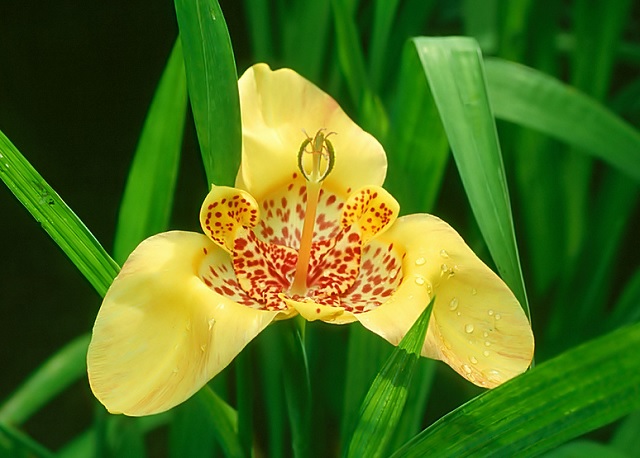
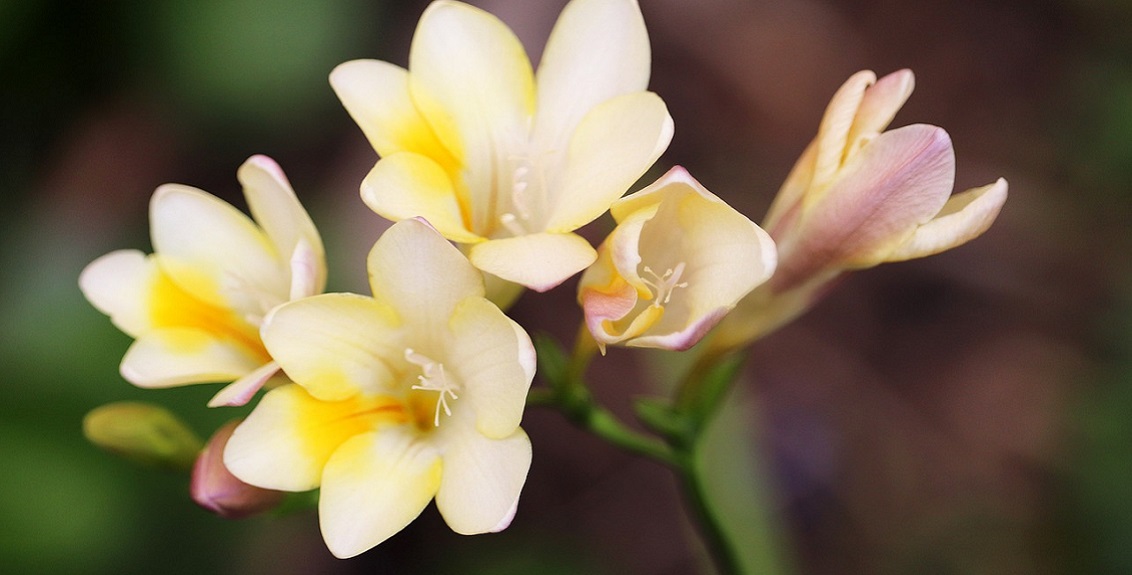
- Corms such as Gladiolus, Calla, Acidanthera, Crocosmia, Freesia, Tigrida, and Tritonia now need a “curing period” of about three more weeks. These corms cure best at warm temperatures up to 85° F and should not be left out in freezing temperatures, so try to coincide this with a spell of warm weather or cure them indoors.

- Sort the bulbs, removing any diseased or shrivelled ones and cut off the stems and foliage.
- Treat the bulbs, if you wish, with a fungicide and/or pesticide powder.
- In the spring it’s easy to forget what’s what, and it’s impossible to tell what colours you have, so you need to label your bulbs. With larger roots, you can write the name and colour directly on them with a permanent marker, or gently tie on a labelled tag. For smaller ones, you may want to use paper bags (not plastic!) as your storage container, so that you can label each bag.
- Fill ventilated containers with a loose storage medium such as peat moss, vermiculite, newspapers, or sawdust. Some gardeners slightly dampen the storage medium, but you don’t want it wet enough to invite mould.
- Layer the bulbs in the storage medium – don’t let them touch each other.
- Put the containers in a cool, dry place around 50° F. You need somewhere where the temperature stays above freezing.
- Check on your bulbs several times throughout the winter. Throw away any shrivelled ones, and remove any packing material that is rotten or mouldy. Small rotten spots can be cut away with a sterile, sharp knife. If you see bulbs beginning to wrinkle or look shrunken, mist the packing material with a little water.
Replanting in the Spring
In the spring, after all danger of frost has passed and the soil is thawed and warm, you can replant your tender bulbs. You can also divide them at this time if you want. For a head start, pot your tender bulbs indoors in very early spring, and move them outdoors when appropriate.